You’ve chosen hybrid flooring for its durability and water resistance, but now comes the question: can you tackle the hybrid flooring installation yourself, or should you hire a professional? Whether you’re renovating a single room or planning a whole-house upgrade, understanding the installation process will save you time, money, and potential headaches down the track.
What’s in this guide
- What is hybrid flooring and why installation matters
- Tools and materials you’ll need
- Preparation steps for hybrid flooring installation
- Step-by-step installation process
- Cost breakdown for DIY vs professional installation
- Common mistakes to avoid
- FAQ
What is hybrid flooring and why installation matters
Hybrid flooring combines the best features of laminate and vinyl, creating a rigid core product that’s 100% waterproof and highly durable. It typically features a stone plastic composite (SPC) or wood plastic composite (WPC) core, topped with a wear layer and realistic timber or stone print. The click-lock system used in most hybrid products makes it one of the more approachable DIY flooring options for Australian homeowners.
Unlike traditional timber that requires nailing or gluing, hybrid flooring installation relies on a floating floor method. The planks click together and sit on top of an underlay, making them easier to install and remove if needed. This also means hybrid flooring can be laid over most existing hard surfaces, including tiles, vinyl, and concrete, provided the subfloor meets certain flatness requirements.
Getting the installation right matters because even premium hybrid flooring can develop issues if poorly laid. Common problems include gaps between planks, uneven surfaces causing hollow sounds underfoot, and moisture-related expansion if acclimation and expansion gaps are ignored. A proper hybrid flooring installation will deliver decades of low-maintenance service.
Tools and materials you’ll need
Before starting your hybrid flooring installation, gather the right tools and materials. Most are available at Bunnings or Mitre 10, and you may already own some of them.
Essential tools:
- Tape measure and pencil
- Circular saw, jigsaw, or drop saw (a guillotine-style vinyl cutter works for thinner planks)
- Tapping block and pull bar
- Rubber mallet
- Spacers (8–10 mm for expansion gaps)
- Utility knife
- Spirit level (minimum 1.2 m)
- Pry bar for the final row
Materials:
- Hybrid flooring planks (order 10% extra for cuts and wastage)
- Underlay suitable for hybrid flooring (some products have integrated underlay)
- Moisture barrier if laying over concrete
- Transition strips, Scotia beading, or skirting boards
- Floor levelling compound if required
If you’re working in a space with underfloor heating, confirm your hybrid product is compatible and choose an underlay with the correct thermal resistance (TOG rating).
Preparation steps for hybrid flooring installation
Preparation is half the battle. Rushing this stage is one of the most common reasons DIY hybrid flooring jobs fail.
Acclimate the flooring
Store unopened cartons of hybrid flooring flat in the room where they’ll be installed for at least 48 hours. This allows the planks to adjust to the room’s temperature and humidity, reducing the risk of expansion or contraction after installation. Australian climates vary widely, so if you’re in Darwin’s tropics or Hobart’s cool south, give the planks extra time to settle.
Check and prepare the subfloor
Your subfloor must be clean, dry, flat, and structurally sound. Use a spirit level or straight edge to check for high and low spots. Most manufacturers require the subfloor to be flat within 3 mm over a 1-metre span. If you find uneven areas, use a self-levelling compound to correct them. For concrete slabs, conduct a moisture test—excess moisture can cause planks to warp even though hybrid is waterproof on the surface.
Remove old skirting boards if you plan to reinstall them on top of the new floor, or leave them in place and cover the expansion gap with Scotia beading. Sweep and vacuum thoroughly; even small debris can create lumps that telegraph through the flooring.
Install underlay and moisture barrier
If your hybrid planks don’t have integrated underlay, roll out a foam or cork underlay perpendicular to the direction you’ll lay the planks. Butt the edges together (don’t overlap) and tape seams with the manufacturer’s recommended tape. For concrete subfloors, lay a plastic moisture barrier (200-micron polyethylene) underneath the underlay, overlapping seams by at least 200 mm and taping them securely. The Australian Building Codes Board provides guidance on moisture control in residential construction.
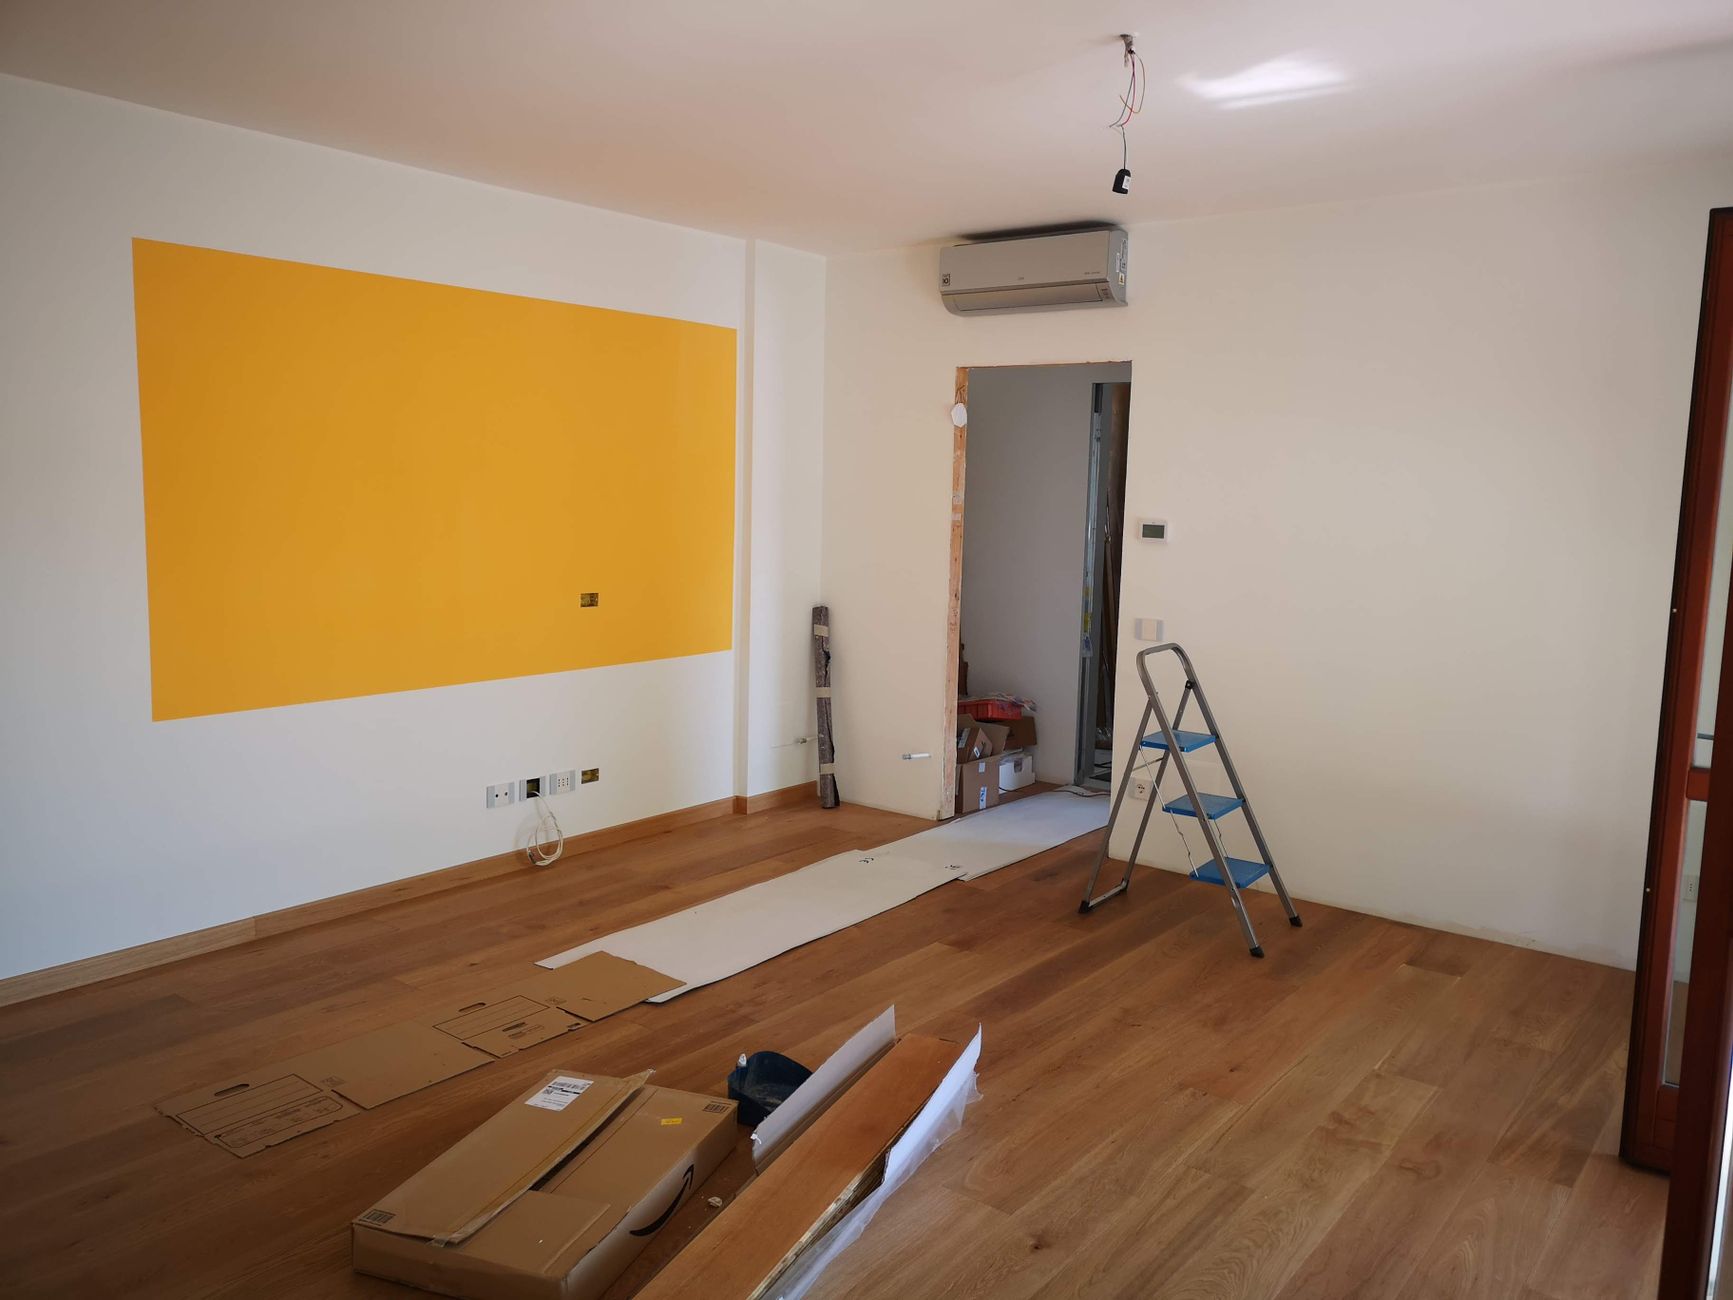
Step-by-step installation process
Once prep work is complete, the actual hybrid flooring installation can move surprisingly quickly. A typical 20 m² room might take a competent DIYer 4–6 hours.
1. Plan your layout
Measure the room width and divide by the plank width to determine how many rows you’ll need. If the final row will be narrower than 50 mm, trim the first row so the last row is wider and more stable. Planks should run parallel to the longest wall or the main light source for visual appeal.
2. Start the first row
Begin in the left corner of the room. Remove the tongue from the first plank using a utility knife or saw, then place it against the wall with 8–10 mm spacers between the plank and wall. This expansion gap is critical—hybrid flooring expands and contracts with temperature changes, and without the gap, planks can buckle.
Click the short ends of the planks together to complete the first row. You’ll likely need to cut the last plank to fit; measure carefully and use the offcut to start the next row if it’s longer than 300 mm (this creates a staggered pattern and avoids waste).
3. Continue subsequent rows
Stagger the end joints by at least 300 mm between rows for structural integrity and a better appearance. Insert the long side of the plank at a slight angle into the previous row’s groove, then lower it flat until it clicks. Use the tapping block and mallet to gently close any gaps—don’t hit the plank directly, as you can damage the locking mechanism.
Maintain your expansion gap on all sides, including doorways and around pipes or other obstacles. For pipes, measure and drill holes 10 mm larger than the pipe diameter, then cut a wedge from the plank to the hole so you can slip it around the pipe. Glue the wedge back in place and cover with a pipe collar.
4. Install the final row
Measure the remaining space, subtract the expansion gap, and rip the planks to width. The pull bar and pry bar are invaluable here for clicking the last row into place when you don’t have room to use the tapping block.
5. Finish with trims and transitions
Remove the spacers and install skirting boards or Scotia beading to cover the expansion gap. Use transition strips at doorways or where the hybrid flooring meets carpet, tile, or a different flooring type. These not only look tidy but also allow each flooring surface to expand independently.
If you found the project challenging or want a professional finish in high-traffic areas, consider reading our guide to choosing a hybrid flooring installer for tips on hiring help for future rooms.
Cost breakdown for DIY vs professional installation
Costs for hybrid flooring installation vary depending on whether you do it yourself or hire a tradie, the quality of the product, and your location.
DIY hybrid flooring installation costs (2026 estimates):
- Hybrid flooring planks: $35–$85 per m² (mid-range products around $50–$65 per m²)
- Underlay: $5–$15 per m²
- Moisture barrier: $1–$3 per m²
- Trims and transitions: $15–$40 per length
- Levelling compound (if needed): $30–$60 per 20 kg bag (covers ~4–6 m² at 3 mm thickness)
- Tool hire (saw, etc., if you don’t own): $50–$100 per day
For a 30 m² living area using mid-range hybrid at $55 per m², expect to spend around $1,650 on flooring, plus $300–$450 for underlay, trims, and sundries—roughly $2,000–$2,100 total if you already have basic tools.
Professional installation costs:
- Labour: $25–$45 per m² in metro areas (Sydney, Melbourne, Brisbane); $30–$50 per m² in regional areas
- Subfloor prep: $10–$30 per m² extra if levelling or moisture treatment needed
- Removal of old flooring: $8–$15 per m²
Using the same 30 m² room, professional installation adds $750–$1,350 to your flooring material costs, bringing the total to around $2,750–$3,450. The Australian Bureau of Statistics notes that skilled trade costs have risen approximately 4–5% annually in recent years, so budgets should include a margin for quotes received later in 2026.
DIY saves money, but professionals bring speed, warranty protection, and expertise in tricky areas like stairs or rooms with complex layouts. For more information on professional services, check out our related article on hybrid flooring install options.
Common mistakes to avoid
Even experienced DIYers can stumble during hybrid flooring installation. Here are the pitfalls to watch for:
Skipping acclimation: Installing planks straight from the truck, especially in extreme weather, can lead to expansion or shrinkage issues within weeks.
Ignoring subfloor flatness: A 5 mm bump might not look like much, but it will create a hollow spot that flexes underfoot and can eventually damage the locking system. Always level your subfloor properly.
Forgetting expansion gaps: Cutting planks tight to the wall or forgetting gaps around door frames is a recipe for buckling. Use spacers religiously, even if you think the room temperature is stable.
Poor stagger patterns: Lining up end joints or using offcuts shorter than 300 mm creates weak points and a visually unappealing “step” pattern. Plan your layout to maintain good stagger.
Forcing planks together: If a plank won’t click easily, check for debris in the groove or a damaged tongue. Forcing it can break the locking mechanism. Gentle taps with a tapping block and mallet are all you need.
Wrong underlay choice: Using an underlay that’s too thick, too thin, or not rated for moisture can void your flooring warranty. Always follow the manufacturer’s specifications.
Laying in the wrong direction: While aesthetic preference matters, laying planks perpendicular to floor joists (on timber subfloors) provides better support and reduces bounce.
FAQ
Can I install hybrid flooring over tiles?
Yes, hybrid flooring can be installed over existing tiles as long as the surface is clean, flat, and free of loose or broken tiles. Fill any large grout lines or cracks with levelling compound, and ensure the floor is level within 3 mm over 1 metre. An underlay designed for hard surfaces will help smooth minor imperfections.
How long does hybrid flooring installation take?
A single room (15–20 m²) typically takes 4–6 hours for a DIYer with basic skills, excluding subfloor prep. Larger or more complex spaces (kitchens with islands, hallways with many doorways) can take a full day or more. Professionals usually complete the same room in 2–4 hours.
Do I need to remove skirting boards before installation?
It’s not strictly necessary, but removing skirting boards allows the hybrid flooring to slide underneath, giving a cleaner finish. If you leave skirting in place, you’ll need to install Scotia beading or quadrant moulding to cover the expansion gap, which some homeowners find less visually appealing.
What’s the best direction to lay hybrid flooring?
Planks usually look best running parallel to the longest wall or toward the main light source, as this draws the eye along the length of the room. In hallways, run planks lengthwise. On timber subfloors, laying perpendicular to the joists adds stability, so balance aesthetics with structural considerations.
Can hybrid flooring be installed on stairs?
Yes, but it requires stair nosing, careful measurement, and often adhesive rather than the floating click-lock method. Most DIYers find stairs challenging and opt for professional installation on steps while tackling the flat floors themselves. Hybrid flooring on stairs must meet Building Code of Australia slip-resistance requirements for safety.
Ready to start your project
Hybrid flooring installation is one of the most rewarding DIY flooring projects you can tackle. With the right preparation, quality materials, and attention to detail, you’ll achieve a professional-looking result that stands up to Australian family life—from sandy beach towels in coastal homes to muddy boots in rural properties. Take your time with the subfloor prep, follow the manufacturer’s instructions, and don’t skip the expansion gaps. If you’re still weighing your options, revisit our hybrid timber flooring guide to confirm this is the right product for your space, then grab your tools and get started.