You’ve stared at that scuffed hallway or tired bedroom wall for months, and now you’re ready to make a change. Painting interior house spaces is one of the most cost-effective ways to refresh your home, boost its value, and create the atmosphere you’ve been dreaming about. Whether you’re tackling a single room or planning a whole-home makeover, understanding the process, costs, and techniques will help you achieve professional-quality results.
What’s in this guide
- Cost breakdown for painting interior house projects
- Choosing the right paint and finish
- Preparation techniques for professional results
- Australian interior colour trends for 2026
- Common mistakes to avoid
- FAQ
Cost breakdown for painting interior house projects
Understanding what you’ll spend on painting interior house spaces helps you budget effectively and decide whether to DIY or hire professionals. In 2026, Australian homeowners typically pay between $15 and $45 per square metre for professional interior painting, with most three-bedroom homes costing $4,000 to $8,000 for a full repaint.
For a standard bedroom (approximately 12–15 square metres of wall space), expect to pay $400 to $700 if you engage a professional painter. Living rooms and open-plan areas cost more—typically $800 to $1,500—due to higher ceilings and greater surface area. Kitchens can be trickier because of cabinetry and prep work, often running $500 to $900 for walls only.
DIY costs are significantly lower. Quality interior paint runs $50 to $90 per four-litre tin, which covers roughly 40 square metres with one coat. You’ll also need primer ($40–$60 per tin), brushes, rollers, drop sheets, painter’s tape, and filler. Budget $300 to $600 in materials for a typical three-bedroom home if you’re doing the work yourself.
Labour accounts for 70–80% of professional quotes. Painters in Sydney and Melbourne charge $50 to $70 per hour, while regional areas see rates closer to $45 to $60 per hour. Most professionals will quote per room or project rather than hourly to give you certainty on final costs.
Feature walls, intricate trim work, or specialty finishes like metallic or textured paints add 20–40% to standard costs. According to the Australian Bureau of Statistics, paint and painting services have risen approximately 15% since 2023, so it’s worth getting multiple quotes and comparing value rather than just price.
Choosing the right paint and finish
The paint you choose dramatically affects both the look and longevity of your painting interior house project. Australian homes face unique conditions—high UV exposure, humidity in coastal and tropical areas, and significant temperature swings—so selecting the right product matters.
Most interior walls use water-based acrylic paints. They dry quickly, have low odour, clean up easily, and perform well in Australian climates. Premium brands like Dulux, Taubmans, and Haymes offer excellent coverage and durability. Expect to pay $50–$70 for budget-range paint, $70–$90 for mid-range, and $90–$120 for premium products per four-litre tin.
Finish selection depends on the room and surface. Flat or matt finishes hide imperfections beautifully and work well for low-traffic areas like adult bedrooms and ceilings. Low-sheen finishes provide subtle lustre and better washability, making them ideal for living rooms and hallways. Semi-gloss and gloss finishes are highly durable and moisture-resistant, perfect for kitchens, bathrooms, and trim work.
Ceiling paint differs from wall paint—it’s typically flatter, thicker, and formulated to minimise drips when painting overhead. Don’t skimp here; using leftover wall paint on ceilings often leads to patchy results and lap marks.
For homes with young children or in high-humidity areas, consider paints with anti-mould additives or low-VOC formulations. These products cost 10–20% more but deliver better indoor air quality and long-term performance. If you’re refreshing multiple rooms as part of a broader renovation, coordinate with your other projects—many homeowners schedule interior painting after completing their kitchen renovation to achieve a cohesive look.
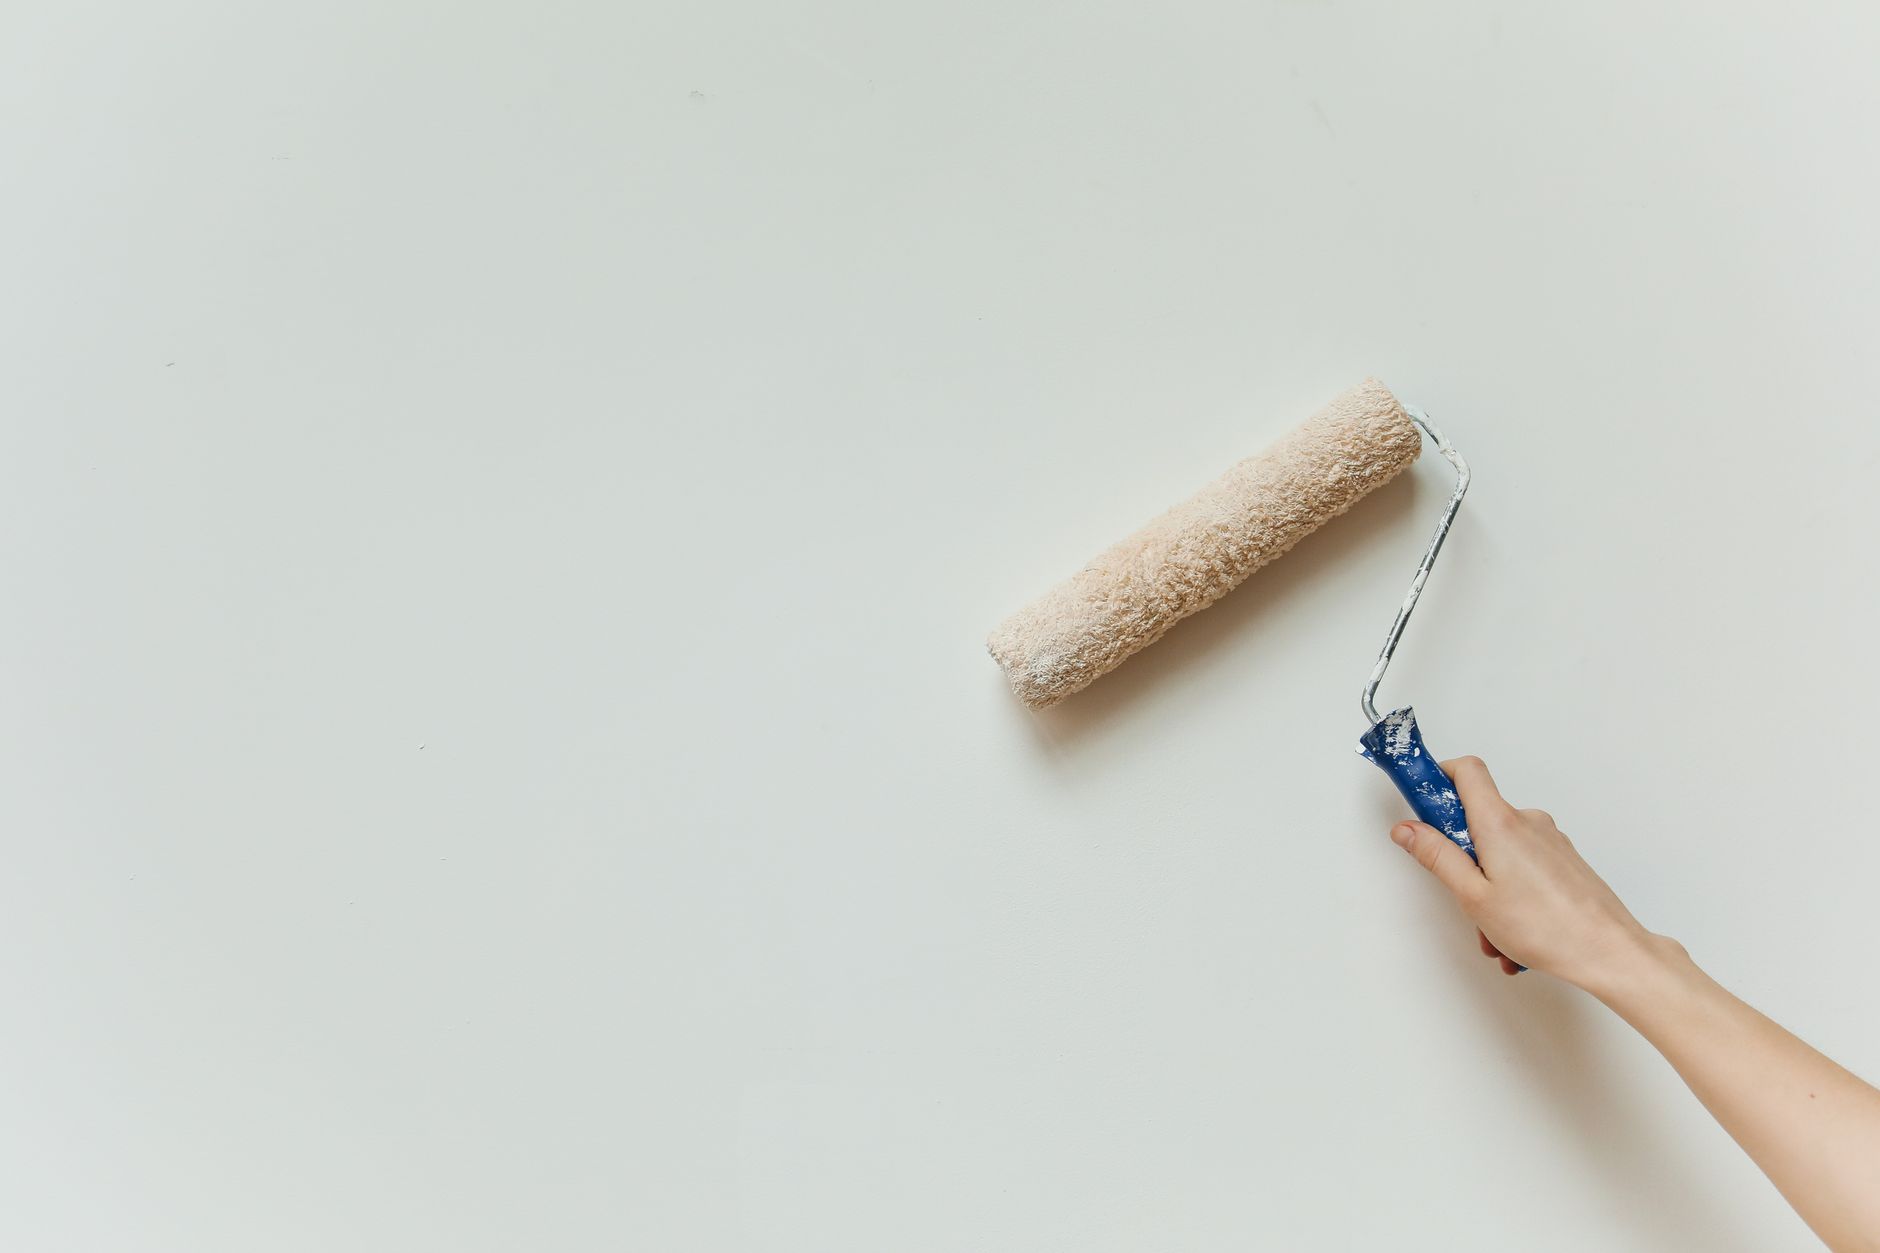
Preparation techniques for professional results
Proper preparation separates amateur paint jobs from professional finishes when painting interior house spaces. Professionals often spend more time on prep than actual painting, and that discipline shows in the final result.
Start by clearing the room as much as possible. Move furniture to the centre and cover it with drop sheets. Remove switch plates, power point covers, curtain rods, and picture hooks. Protect floors with canvas drop sheets—plastic sheets can be slippery and don’t absorb spills.
Next, repair surface imperfections. Fill nail holes, cracks, and dents with a quality filler or spackling compound. Let it dry completely (usually 2–4 hours), then sand smooth with 120-grit sandpaper. For larger holes or damaged plasterboard, consider patching properly rather than just filling—poorly repaired damage telegraphs through paint.
Cleaning walls is essential but often overlooked. Grease, dust, and grime prevent paint adhesion. Wash walls with sugar soap solution, rinse with clean water, and allow to dry thoroughly. Pay special attention to kitchens and high-traffic areas where oils accumulate.
Apply painter’s tape carefully along skirting boards, door frames, cornices, and ceiling edges. Press the tape down firmly to prevent paint bleed. Quality tape (3M ScotchBlue or similar) costs more but removes cleanly and delivers crisp lines.
Priming is non-negotiable for new plasterboard, patched areas, or dramatic colour changes. Primer seals porous surfaces, improves paint adhesion, and ensures even colour. Tinted primer—matched close to your topcoat colour—can reduce the number of finish coats needed, especially when covering dark colours with light ones.
Work systematically: cut in edges with a brush first (around trim, corners, and ceilings), then roll the main wall area. Use a quality roller (12mm nap for smooth walls, 18mm for textured surfaces) and work in W or M patterns to distribute paint evenly. Two coats are standard; don’t try to achieve full coverage in one thick coat, as this causes drips and uneven drying.
Australian interior colour trends for 2026
Choosing colours for your painting interior house project reflects personal taste, but understanding current trends helps create a modern, market-friendly result that won’t feel dated in a few years.
Warm neutrals dominate 2026 palettes. Greiges (grey-beige hybrids), warm taupes, and creamy off-whites create sophisticated, versatile backdrops that work with various furniture styles. Popular choices include Dulux Natural White, Taubmans Mushroom, and Haymes Alabaster—all offering warmth without being overtly beige.
Earthy tones continue their strong run. Terracotta, clay pinks, olive greens, and ochre yellows bring warmth and connection to the Australian landscape. These colours work beautifully as feature walls or in spaces that get good natural light. Be cautious in darker rooms, where they can feel heavy.
Coastal blues and greens remain popular, particularly in beach suburbs and Queensland homes. Soft sage, pale aqua, and dusty blue-grey tones create calm, airy spaces. Pair these with crisp white trim for a fresh, contemporary look that suits both modern and heritage homes.
Dark, moody colours are gaining traction for feature walls and smaller spaces. Deep charcoal, navy, forest green, and even black create drama and intimacy. These work well in studies, dining rooms, or as a statement wall in a bedroom. Balance is key—dark walls need good lighting and lighter furnishings to avoid feeling closed-in.
Ceilings are no longer automatically white. Fifth-wall treatments in soft colours (pale blue, blush pink, or light grey) add subtle interest. In heritage homes with high ceilings and decorative cornices, consider traditional schemes with deeper ceiling colours to reduce perceived height and add warmth.
Test before committing. Purchase sample pots and paint large sections (at least one square metre) on different walls. Observe colours in morning, afternoon, and artificial light over several days. Colours shift dramatically depending on light direction and intensity.
Common mistakes to avoid
Even experienced DIYers make errors when painting interior house projects. Avoiding these common pitfalls saves time, money, and frustration.
Skipping surface preparation: Rushing into painting without proper cleaning, repairs, and priming guarantees poor results. Paint doesn’t hide problems—it highlights them. Dedicate at least 30–40% of your project time to prep work.
Buying cheap paint or tools: Budget paint requires extra coats, covers poorly, and wears quickly. Cheap brushes shed bristles and create streaky finishes. Invest in quality materials—the difference in cost is minimal compared to the improvement in results and longevity.
Painting in poor conditions: Temperature and humidity affect drying time and finish quality. Ideal conditions are 10–30°C with moderate humidity. Don’t paint in direct sunlight or extreme heat, and avoid rainy days when humidity is high. Paint won’t cure properly in cold conditions below 10°C.
Overloading brushes and rollers: Too much paint causes drips, runs, and uneven coverage. Dip brushes only one-third into paint and tap off excess. Load rollers moderately and roll off excess on the tray grid before applying to walls.
Removing tape at the wrong time: Pull painter’s tape while the final coat is still slightly tacky (usually 30–60 minutes after painting). If paint fully dries, it can chip along tape edges. If tape is removed too soon, paint may smear.
Ignoring ventilation: Even low-VOC paints release fumes. Ensure adequate airflow with open windows and doors. Use fans to circulate air but don’t point them directly at wet paint, which can cause uneven drying and dust contamination.
Painting trim before walls: Paint walls first, then trim and doors. It’s much easier to cut clean lines on trim than to paint walls perfectly against painted woodwork. If you’re also updating other elements, complete projects like exterior house painting beforehand to avoid tracking dirt through freshly painted interiors.
Neglecting safety: Use stable ladders or platforms for high work. Ensure adequate lighting to see what you’re painting. Wear appropriate protective equipment, especially when sanding (dust mask) or working with oil-based products (gloves, ventilation).
FAQ
How long does it take to paint a house interior?
A professional team typically completes a three-bedroom home in 3–5 days, including prep and two coats. DIY projects take longer—expect 2–3 weekends for a similar scope, working evenings and full days. Single rooms can be finished in 1–2 days once you’ve gathered materials and mastered techniques.
Can I paint over wallpaper or textured walls?
Painting over wallpaper is possible if it’s in good condition, but removing it first delivers better, longer-lasting results. For textured walls, you can paint directly if the texture is sound. To smooth textured walls, you’ll need to skim coat with plaster compound first, which adds time and complexity to your painting interior house project.
How often should interior paint be refreshed?
High-traffic areas like hallways, children’s rooms, and kitchens benefit from repainting every 3–5 years. Low-traffic spaces like formal living rooms or adult bedrooms can last 7–10 years. Signs you need a refresh include visible scuffs, fading, colour changes around light switches, or when styles simply feel dated.
Is it worth hiring a professional painter?
For large projects, difficult prep work (extensive repairs, lead paint removal), high ceilings, or if you lack time, professional painters offer excellent value. They work faster, achieve superior finishes, and handle problems efficiently. For single rooms with minimal prep, DIY is cost-effective and manageable. Consider professional painting if you’re coordinating with other trades during a bathroom renovation or similar project.
What’s the best paint for Australian coastal homes?
Coastal environments demand paints with enhanced moisture and salt resistance. Look for acrylic paints specifically rated for high-humidity conditions, often labelled as bathroom or kitchen formulations. Premium brands offer coastal-specific lines with mould inhibitors. Semi-gloss and gloss finishes in wet areas provide better moisture protection than flat finishes. The CHOICE paint reviews regularly test products for durability in Australian conditions.
Do I need to use undercoat or primer?
Primer is essential for new plasterboard, bare timber, patched repairs, and when making dramatic colour changes (especially dark to light). Modern two-in-one paint-and-primer products work for straightforward repainting of already-painted walls in good condition. When in doubt, prime—it’s cheap insurance for a quality finish and often reduces the number of topcoats needed.
Painting interior house spaces transforms your home’s look and feel without the cost or disruption of major structural renovations. With proper planning, quality materials, and attention to preparation, you’ll create fresh, beautiful spaces that reflect your style and stand up to daily Australian life. Whether you tackle the work yourself or engage professionals, understanding the process ensures you achieve results you’ll love for years to come.