You’ve decided to refresh your home with a fresh coat of paint, but staring at those walls wondering where to start can feel overwhelming. Painting interior walls is one of the most cost-effective ways to transform your living space, whether you’re updating a tired colour scheme, preparing a property for sale, or simply giving your home a new lease on life. With the right preparation, tools, and technique, you can achieve professional-looking results that last for years.
What’s in this guide
- Why interior wall paint quality matters
- Essential preparation before painting interior walls
- Choosing the right paint for your walls
- Tools and equipment you’ll need
- Step-by-step painting interior walls technique
- Cost breakdown for painting interior walls
- Common mistakes to avoid
- FAQ
Why interior wall paint quality matters
The quality of paint you choose directly impacts the longevity and appearance of your finished walls. Premium paints contain higher concentrations of pigments and resins, which means better coverage, richer colour, and superior durability. In Australian homes, where humidity levels vary dramatically between coastal regions and inland areas, selecting paint that can withstand your local climate is crucial.
Low-VOC (volatile organic compound) paints have become the standard across Australia, meeting stringent environmental regulations while protecting indoor air quality. According to the Australian Building Codes Board, proper ventilation during and after painting is essential, particularly when working with oil-based products, though water-based acrylics have largely replaced them in residential applications.
Quality paint also saves money long-term. While budget paints might cost $40-60 per 4-litre tin, they often require three coats for adequate coverage. Premium brands at $80-120 per tin typically need just two coats, reducing labour time and overall paint consumption. If you’re considering multiple rooms, the savings compound quickly.
Essential preparation before painting interior walls
Proper preparation accounts for roughly 70% of a successful paint job. Skipping or rushing this phase is the most common reason DIY painting interior walls projects fail to meet expectations.
Start by clearing the room as much as possible. Move furniture to the centre and cover it with drop sheets—canvas is preferable to plastic, as it absorbs drips rather than creating slippery puddles. Remove wall fixtures, switch plates, and picture hooks. Patch any holes with a quality filler, allowing adequate drying time before sanding smooth with 180-grit sandpaper.
Wash your walls with sugar soap solution to remove dirt, grease, and grime that would prevent proper paint adhesion. This step is particularly important in kitchens and bathrooms where moisture and cooking residue accumulate. Rinse thoroughly with clean water and allow walls to dry completely—at least 24 hours in humid conditions.
Apply painter’s tape along skirting boards, door frames, window edges, and ceiling lines. Quality tape costs more but releases cleanly without pulling paint. Press the tape edges firmly with a putty knife to prevent bleed-through. If your walls have never been painted or you’re making a dramatic colour change, apply a primer coat. Modern primers dry quickly and create the perfect surface for topcoats to bond.
Choosing the right paint for your walls
Australian paint manufacturers offer four main finishes: flat (matt), low-sheen, semi-gloss, and gloss. For most interior walls, low-sheen provides the best balance of appearance and practicality. It hides minor imperfections better than glossier finishes while remaining easier to clean than flat paint.
Flat finishes suit formal living rooms and adult bedrooms where walls receive minimal contact. Low-sheen works brilliantly in family areas, hallways, and children’s bedrooms. Semi-gloss and gloss finishes are typically reserved for trim, doors, and high-moisture areas like bathrooms and laundries.
Colour selection deserves careful consideration. Paint colours appear different under various lighting conditions, and Australian homes receive particularly intense natural light. Always test your chosen colour by painting a large sample board (at least 60cm square) and observing it at different times of day. North-facing rooms receive consistent, softer light, while west-facing rooms experience intense afternoon heat and brightness that can wash out colours.
Popular neutral tones like Dulux Lexicon Quarter, Taubmans White on White, and various warm greys remain bestsellers because they complement most furnishings and architectural styles, from Federation homes to modern apartments. If you’re painting to sell, neutral colours appeal to the broadest audience. For projects involving interior painting in Brisbane or other humid climates, look for paints with mould inhibitors.
Tools and equipment you’ll need
Investing in quality tools makes painting interior walls faster and produces better results. For rollers, choose a 270mm (standard) or 360mm (large) frame with extension pole. Roller sleeves should match your wall texture: 6-10mm nap for smooth walls, 10-15mm for lightly textured surfaces, and 15-20mm for heavily textured or rough walls.
You’ll need at least two brushes: a 50-75mm angled cutting-in brush for edges and corners, and a 25mm brush for detailed work around fixtures. Synthetic brushes work best with water-based paints, while natural bristle suits oil-based products (though these are rarely used indoors anymore).
Other essential equipment includes paint trays with liners, drop sheets, painter’s tape, stirring sticks, sandpaper in various grits, sugar soap, filling compound, putty knife, and clean rags. A sturdy stepladder is crucial—never stand on chairs or makeshift platforms.
Step-by-step painting interior walls technique
Begin by “cutting in”—using a brush to paint a 75-100mm border around all edges, corners, ceiling lines, and trim. This creates a frame that you’ll fill with the roller. Work in sections small enough to keep a wet edge, preventing lap marks. Many experienced painters cut in an entire wall before rolling, but beginners achieve better results cutting in one section at a time.
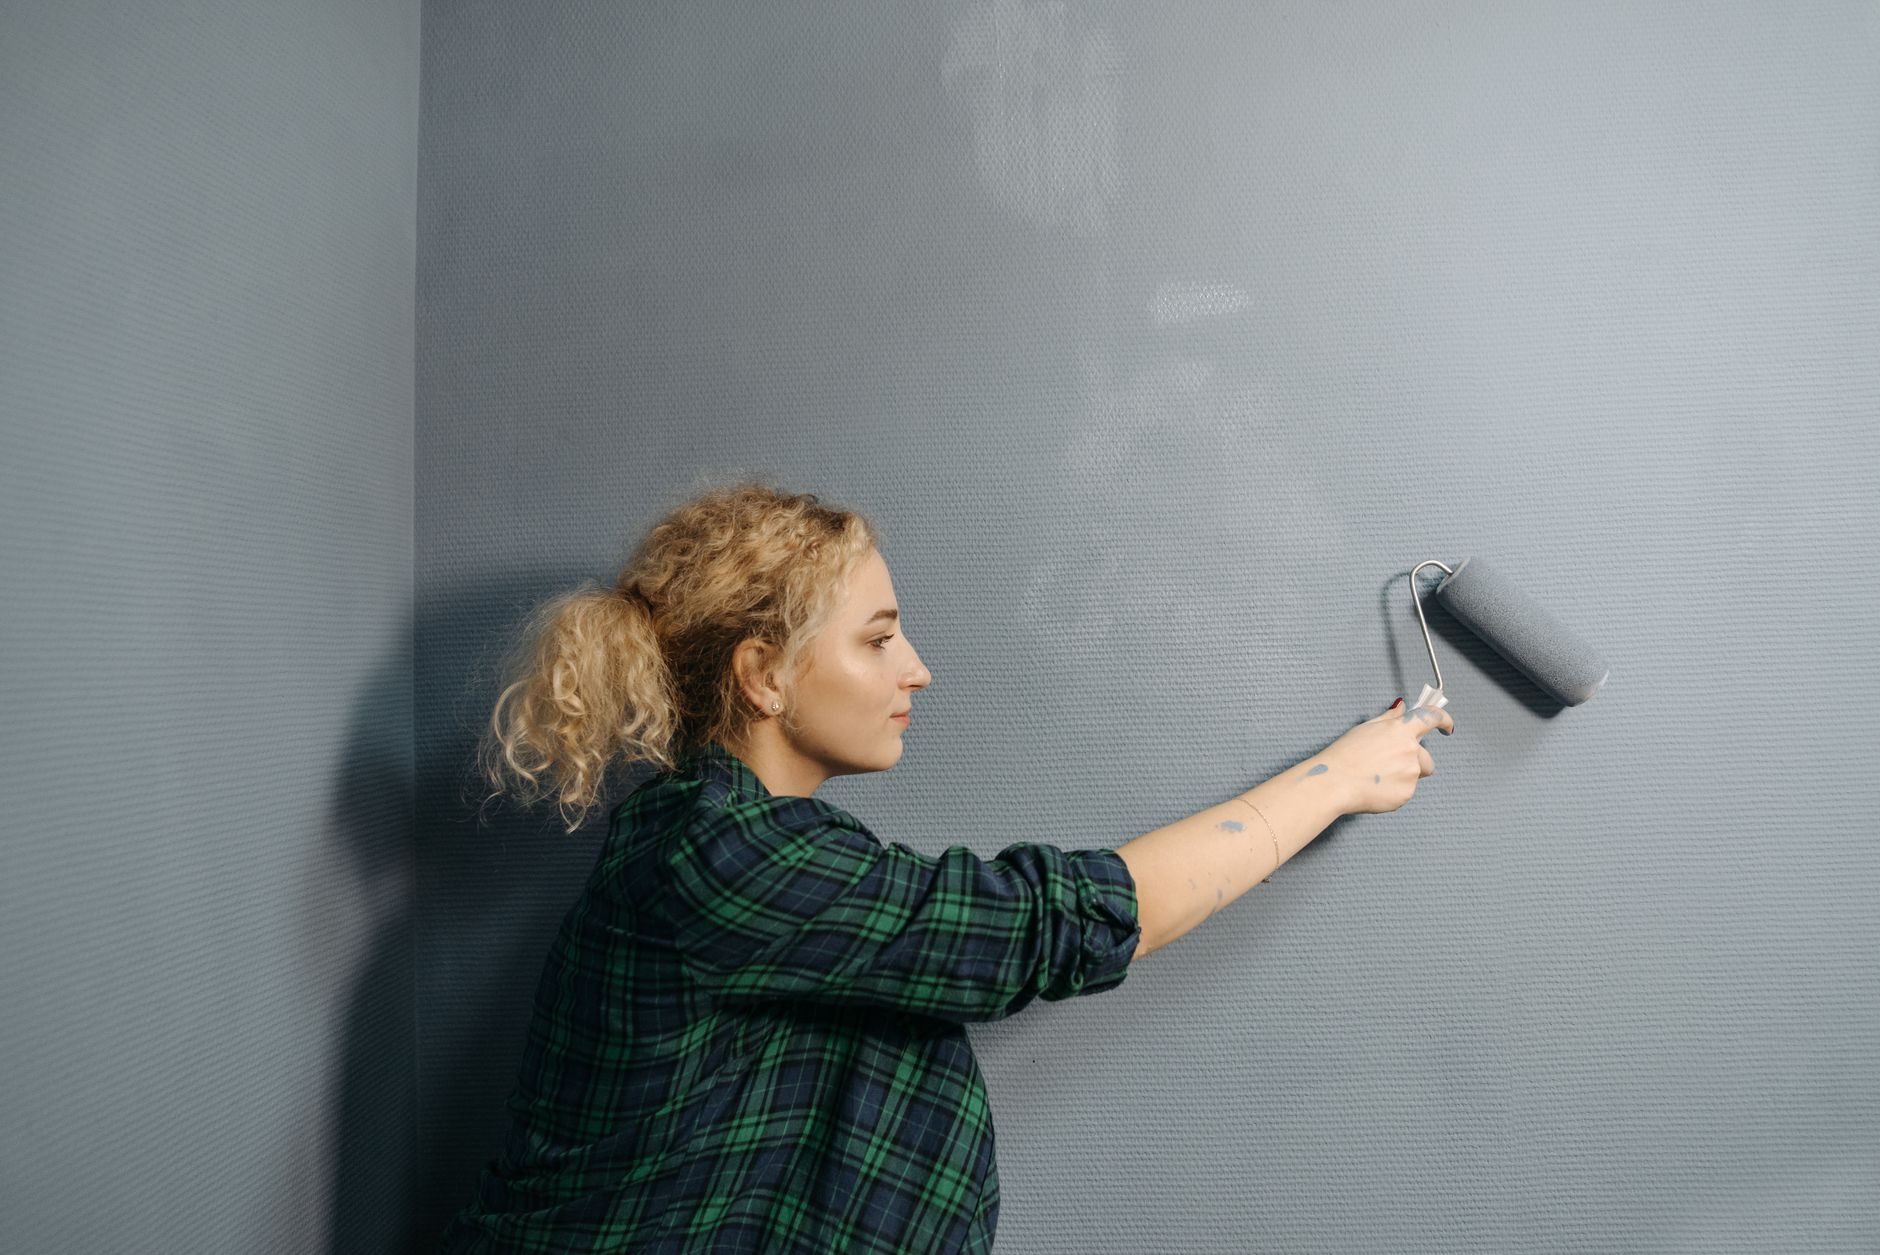
When painting interior walls with a roller, load it evenly by rolling it back and forth in the paint tray. Don’t oversaturate—excess paint causes drips and uneven coverage. Start rolling about 30cm from the ceiling and work in 1-metre-square sections using a “W” or “M” pattern, then fill in without lifting the roller. This technique distributes paint evenly and prevents visible roller marks.
Maintain consistent pressure and roll in different directions to achieve uniform coverage. Overlap each section slightly while the edge remains wet. Work at a steady pace—rolling too slowly causes lap marks, while rushing leaves thin spots. Most quality paints require two coats, with the first coat drying for at least four hours (check manufacturer specifications).
For the second coat, change direction from your first coat—if you rolled vertically first, go horizontally for the second coat. This ensures complete, even coverage. Remove painter’s tape while the final coat is still slightly tacky (after about an hour) by pulling at a 45-degree angle away from the painted surface.
Ventilate the room well during and after painting. Even low-VOC paints benefit from air circulation to speed drying and clear any odours. Avoid painting in extreme temperatures—ideal conditions are 10-30°C with moderate humidity.
Cost breakdown for painting interior walls
The cost of painting interior walls varies significantly based on whether you DIY or hire professionals, room size, paint quality, and wall condition. Here’s what to expect in 2026:
DIY costs per standard room (3m x 4m, 2.4m ceiling height):
- Premium paint (10-12 litres for two coats): $200-280
- Primer (if needed, 4-5 litres): $60-100
- Supplies (brushes, rollers, tape, drop sheets, filler): $80-150 (one-time investment)
- Total per room: $340-530 first room, $260-380 subsequent rooms
Professional costs:
- Per room: $400-800 depending on room size, wall condition, and location
- Per square metre: $15-35 (lower rates for larger projects)
- Whole house interior (3-bedroom): $4,000-8,000
The Australian Bureau of Statistics reports that labour costs account for 60-70% of professional painting quotes, making DIY particularly cost-effective for those with time and confidence. However, professionals complete work faster and typically guarantee their results for 12-24 months.
If you’re looking at costs for related projects, comparing interior painting costs across different room types can help with budgeting your whole-home refresh.
Common mistakes to avoid
The most frequent error when painting interior walls is inadequate preparation. Rushing straight to paint without properly cleaning, repairing, and priming walls inevitably leads to poor adhesion, visible imperfections, and premature failure. Take your time with prep work—it’s never wasted effort.
Using cheap materials is false economy. Budget paint requires more coats, inferior brushes leave bristle marks and shed hairs, and low-quality roller sleeves create texture problems. Mid to premium products deliver noticeably better results and often cost less overall when you factor in coverage and longevity.
Overloading brushes and rollers causes drips, runs, and uneven coverage. Load tools moderately and work paint out evenly across the surface. Similarly, applying paint too thickly hoping to finish in one coat creates a textured “orange peel” effect as it dries. Two properly applied thin coats always outperform one heavy coat.
Poor lighting during application means you miss holidays (unpainted spots), drips, and uneven coverage. Work with bright overhead lighting and, if possible, natural light to see your work clearly. Inspect walls from different angles as you go.
Painting in the wrong order wastes time and creates messy edges. Always paint ceilings first, then walls, then trim. This allows you to overlap slightly without damaging finished surfaces. When painting multiple rooms, complete all cutting-in first, then all rolling, which is more efficient than finishing one room before starting the next.
Finally, not allowing proper drying time between coats compromises adhesion and finish quality. Don’t rush the process. Modern paints may feel dry to touch within an hour, but require several hours to cure sufficiently for a second coat. Overnight drying is ideal if your schedule permits.
FAQ
How long does it take to paint a room?
For an average bedroom (3m x 4m), expect 6-8 hours for a competent DIYer including preparation, two coats, and cleanup. Experienced painters complete the same room in 3-4 hours. Large living areas or rooms requiring significant repair work take proportionally longer. Factor in drying time between coats—while you can’t work continuously, the project spans 1-2 days.
Can I paint over wallpaper?
Generally not recommended. Paint adds moisture that can loosen wallpaper adhesive, causing bubbling and peeling. If the wallpaper is firmly adhered, you can paint over it after applying oil-based primer, but removing wallpaper and preparing the wall properly delivers far better long-term results. Exceptions include paintable textured wallpaper specifically designed for this purpose.
How do I prevent roller marks and streaks?
Use a quality roller sleeve with appropriate nap length, don’t overload the roller, maintain consistent pressure, and work in overlapping sections while edges remain wet. Roll in different directions—create a W or M pattern, then fill in smoothly. For the second coat, change rolling direction from your first coat. Always use an extension pole rather than pressing hard to reach—excess pressure causes marks.
What’s the best time of year for painting interior walls?
Spring and autumn offer ideal conditions across most of Australia—moderate temperatures (15-25°C) and lower humidity help paint dry evenly. Summer heat can cause paint to dry too quickly, creating lap marks, while winter cold slows drying and may require heating. Avoid painting during periods of high humidity, particularly in coastal areas, as moisture affects drying and can cause long-term adhesion problems.
Do I need to prime previously painted walls?
Not always. If existing paint is in good condition and you’re using similar colours, modern self-priming paints work well. However, prime when covering dark colours with light shades, painting over stains or water damage, dealing with bare plaster or filler patches, or if previous paint is glossy (lightly sand first, then prime). When in doubt, priming ensures better adhesion and coverage—it’s cheap insurance for a quality result.
Painting interior walls transforms your home’s appearance more affordably and quickly than almost any other renovation. With proper preparation, quality materials, and attention to technique, you can achieve results that rival professional work. Start with a single room to build confidence, and you’ll soon have the skills to refresh your entire home. Whether you’re updating colour schemes or preparing for sale, a fresh coat of paint delivers impressive returns on your time and investment.
Related guides
For more on Australian renovation costs, see: