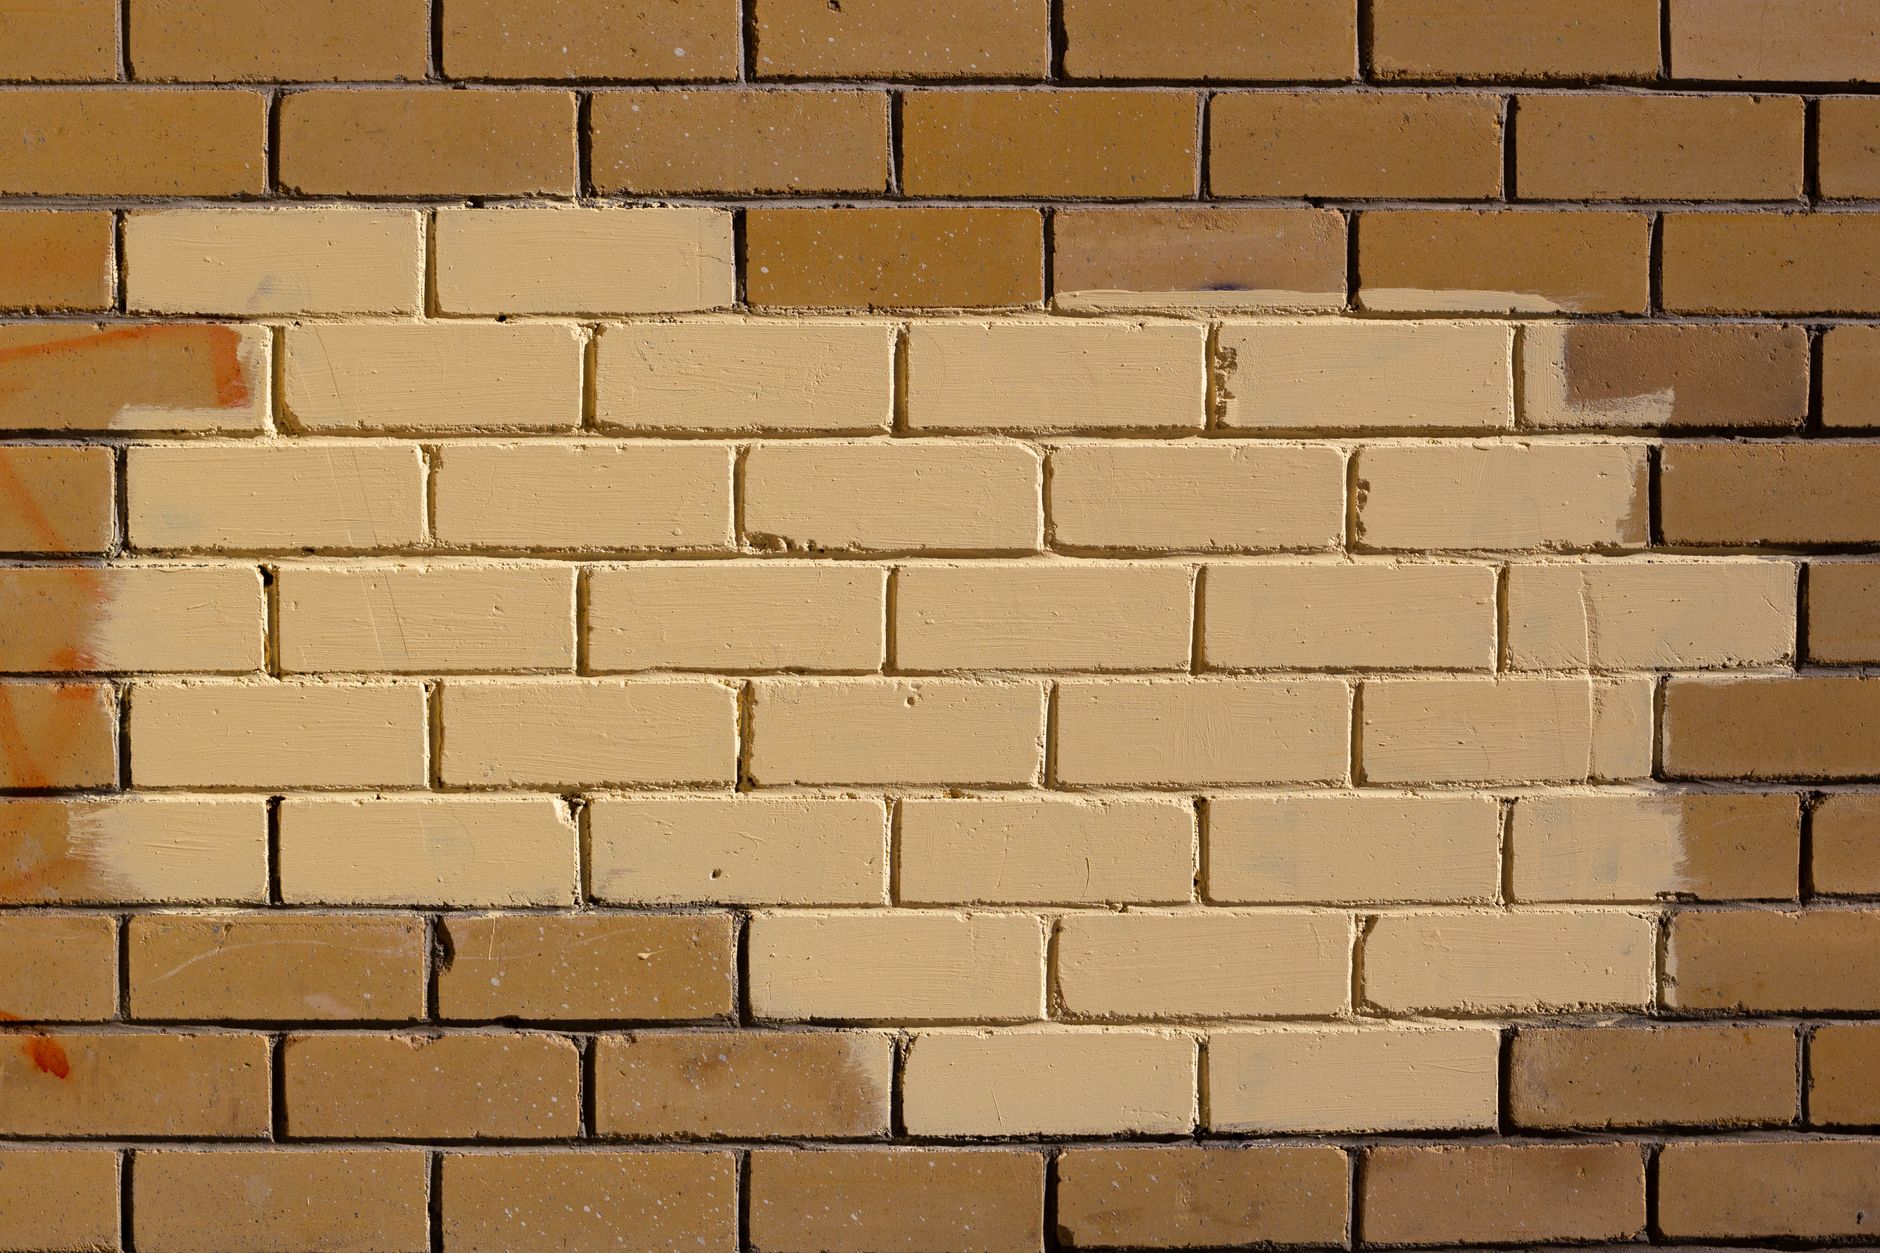
That exposed brick feature wall looked charming when you moved in, but now it feels dated and dark. Painting brick interior walls can completely transform your space, brightening rooms and modernising your home without the cost of demolition. Whether you’re tackling a single accent wall or an entire room of exposed brick, understanding the right preparation and products makes all the difference.
What’s in this guide
- Why paint brick interior walls
- Essential preparation for painting brick interior walls
- Best paint and primer products
- Step-by-step application process
- Expected costs breakdown
- Common mistakes to avoid
- FAQ
Why paint brick interior walls
Exposed brick has cycled in and out of fashion for decades. In many Australian homes—particularly renovated warehouses, heritage terraces, and post-war properties—brick interior walls were either left exposed intentionally or revealed during renovations. While some homeowners love the industrial aesthetic, others find unpainted brick makes spaces feel cold, absorbs light, or clashes with modern furnishings.
Painting brick interior walls offers several practical benefits beyond aesthetics. Painted brick is easier to clean than raw brick, which harbours dust in its porous surface and mortar joints. It also allows you to coordinate wall colour with your overall interior scheme, something difficult when working around the natural red, orange, or brown tones of traditional clay brick.
According to Australian Bureau of Statistics housing data, around 18% of Australian homes built before 1980 feature some form of internal brick wall, making this a relevant renovation consideration for many homeowners.
One important consideration: painted brick is difficult to reverse. Chemical paint strippers and sandblasting can damage brick and mortar, so think carefully before committing. If you’re renting or uncertain, this isn’t a project to rush into.
Essential preparation for painting brick interior walls
Success with painting brick interior walls hinges almost entirely on thorough preparation. Brick is porous and uneven, and mortar joints create texture challenges that smooth plaster walls don’t present.
Start by cleaning the wall completely. Use a stiff brush to remove loose mortar, dust, and debris from the brick surface and joints. For walls in kitchens or living areas, grease and grime build-up is common—wash these surfaces with a solution of trisodium phosphate (TSP) or a heavy-duty degreaser, then rinse thoroughly and allow at least 48 hours for drying. Moisture trapped in brick will prevent paint adhesion and cause peeling.
Inspect mortar joints carefully. Crumbling or damaged mortar should be repaired before painting. Repointing—the process of replacing deteriorated mortar—ensures structural integrity and creates a sound surface for paint. This step is especially important in older Australian homes where lime-based mortar may have degraded over time.
Fill any holes, cracks, or damaged areas with a suitable masonry filler. Once dry, sand these repairs smooth, though keep in mind that brick’s natural texture means you won’t achieve a perfectly flat surface.
The final prep step is priming. Never skip primer on brick. A high-quality masonry primer or acrylic latex primer designed for porous surfaces will seal the brick, reduce paint absorption, and improve topcoat adhesion. Primer also helps achieve even colour coverage, especially important when painting over dark or multicoloured brick.
Best paint and primer products
Choosing the right products for painting brick interior walls determines both the finished appearance and long-term durability. Not all paints perform equally on masonry.
Primer: Use a breathable masonry primer or a high-quality acrylic latex primer. Products like Dulux 1Step Prep or Taubmans 3in1 are formulated to seal porous surfaces without trapping moisture. Brick needs to breathe, so avoid oil-based sealers that create an impermeable barrier—these can cause moisture problems, particularly in older homes without damp-proof courses.
Paint: For interior brick walls, premium acrylic or elastomeric paint delivers the best results. Look for products labeled for masonry or concrete. Brands widely available in Australia include Dulux, Taubmans, British Paints, and Haymes. Low-sheen or satin finishes are popular for brick because they hide imperfections better than gloss while remaining wipeable.
Budget around $80–$150 per 10-litre tin of quality interior masonry paint. Cheaper paints often require additional coats and don’t stand up to cleaning, making them false economy.
If you’re concerned about maintaining the textured appearance of brick, consider limewash or mineral paint. These traditional finishes allow the brick texture to show through while changing colour. Limewash is highly breathable and creates a soft, matte finish popular in heritage and coastal homes. However, it’s less durable than acrylic paint and may require more frequent maintenance.
For rooms with moisture concerns—bathrooms or laundries with brick walls—choose paint with mould-resistant additives and ensure adequate ventilation to prevent damp issues.
Step-by-step application process
Once your wall is clean, repaired, and primed, you’re ready to paint. Painting brick interior walls requires different tools and techniques compared to smooth drywall.
Tools you’ll need: A thick-nap roller (at least 18mm nap), angled brush for mortar joints and edges, paint tray, extension pole, and drop sheets. The thick roller nap is essential—it holds more paint and pushes it into the brick’s porous surface and uneven texture.
First coat: Pour your paint and load the roller generously. Work in sections roughly one square metre at a time. Roll paint onto the brick using a W-pattern, then fill in. Apply firm pressure to work paint into the mortar joints and brick texture. Use your angled brush to touch up any missed spots in deep mortar lines.
Don’t expect complete coverage on the first coat. Brick’s porosity means it absorbs paint unevenly. Dark brick painted white or light colours typically requires three coats for full opacity.
Drying time: Allow each coat to dry completely before applying the next—usually 4–6 hours for acrylic paint, though check your product’s technical data sheet. Rushing between coats causes streaking and poor adhesion.
Second and third coats: Repeat the process, maintaining consistent coverage. By the third coat, you should achieve solid, even colour. Some textured areas or deep mortar joints may still show slight variations—this is normal and part of brick’s character.
For a contemporary look, consider painting the mortar joints a contrasting colour. Apply your base colour to the entire wall, then carefully paint the joints with a small brush in white, charcoal, or another accent shade. This technique, sometimes called “German schmear” when done with mortar rather than paint, adds visual interest while retaining the wall’s texture.
Looking to refresh other interior surfaces? Our guide to interior painting colours can help you coordinate your newly painted brick with the rest of your home’s palette.
Expected costs breakdown
Understanding the costs involved in painting brick interior walls helps you budget accurately and decide between DIY and professional services.
Materials (DIY):
- Masonry primer: $60–$120 (10L covers approximately 10–12m² on brick)
- Paint (2–3 coats): $160–$450 (20–30L depending on wall size and brick porosity)
- Cleaning supplies, filler, sandpaper: $30–$60
- Rollers, brushes, drop sheets: $40–$80
- Mortar repair (if needed): $50–$200
Total DIY cost: $340–$910 for a typical 10–15m² feature wall, depending on brick condition and product quality.
Professional painting: Expect to pay $45–$85 per square metre for professional painting of interior brick walls. This typically includes surface preparation (cleaning and minor repairs), primer, and two coats of paint. More extensive mortar repair or complex prep work will increase costs. For a 15m² wall, budget $675–$1,275.
Professional painters complete the work faster and often achieve more consistent coverage, particularly important for high-traffic areas or walls in main living spaces. However, capable DIYers with patience and attention to prep work can achieve excellent results at significant savings.
Keep in mind that painting brick interior walls is a one-way decision. Removal costs (if you later change your mind) range from $80–$150 per square metre for chemical stripping or sandblasting—far more expensive than the initial painting.
Common mistakes to avoid
Even experienced DIYers make errors when painting brick interior walls. Avoiding these common pitfalls saves time, money, and frustration.
Skipping or rushing the cleaning phase: Paint won’t adhere properly to dusty, greasy, or dirty brick. Take the time to thoroughly clean and fully dry the wall. In humid climates or poorly ventilated rooms, this may take several days.
Not using primer: Primer is non-negotiable for brick. Without it, you’ll use far more topcoat paint, achieve uneven coverage, and risk peeling within months. The primer investment pays for itself in reduced topcoat consumption.
Choosing the wrong roller: A standard 10mm nap roller designed for smooth walls won’t work on brick. You need at least 18mm nap to reach into mortar joints and brick texture. Using the wrong roller results in patchy coverage and wasted paint.
Painting over damaged mortar: Crumbling mortar joints will continue deteriorating under paint, eventually causing cracks and peeling. Address structural issues before you paint, not after.
Insufficient coats: Stopping after one or two coats because you’re tired or impatient leaves you with blotchy, unprofessional-looking walls. Budget time and materials for three coats on previously unpainted brick, especially when painting dark brick with light colours.
Painting damp brick: Moisture is paint’s enemy. If your brick wall shows signs of dampness, water stains, or efflorescence (white crystalline deposits), resolve the moisture problem before painting. The Australian Building Codes Board provides guidelines on managing moisture in masonry construction. Painting over damp brick traps moisture, leading to mould, peeling, and potential structural damage.
Using exterior paint indoors: While exterior masonry paint is durable, it often contains additives unsuitable for interior spaces and may off-gas unpleasant fumes. Stick to products labeled for interior use.
If you’re planning to update other interior surfaces, check out our guide to interior painting color for additional tips on achieving professional results throughout your home.
FAQ
Can you paint brick interior walls in any colour?
Yes, you can paint interior brick walls any colour you choose. White and off-white are most popular as they brighten spaces and create a modern look while preserving brick texture. Darker colours like charcoal, navy, or forest green work well for accent walls. Keep in mind that painting dark brick with light colours requires more coats (usually three) for complete coverage, while painting brick a similar or darker colour may only need two coats over primer.
How long does painted brick interior last?
Properly prepared and painted brick interior walls can last 10–15 years or more before needing repainting. Longevity depends on surface preparation quality, paint quality, room humidity levels, and wall traffic. High-traffic areas like hallways may show wear sooner than walls in bedrooms or dining rooms. Using premium masonry paint and proper primer significantly extends the finish life.
Is painting brick interior walls a DIY-friendly project?
Yes, painting brick interior walls is suitable for confident DIYers. The project requires more physical effort and patience than painting drywall due to the porous, textured surface, but the techniques are straightforward. Plan for a weekend project: one day for cleaning and repairs, another for priming, and additional time for two to three topcoats. If your wall requires extensive mortar repair or you’re uncomfortable with prep work, consider hiring a professional for preparation and doing the painting yourself to save costs.
What’s the best way to clean painted brick walls?
Clean painted brick interior walls with a soft cloth or sponge and mild detergent solution. Avoid abrasive cleaners or stiff brushes that might damage the paint finish. For stubborn marks, use a magic eraser sponge gently. Most quality acrylic masonry paints in satin or low-sheen finish are scrubbable once fully cured (usually 30 days after final coat). Matte and flat finishes are harder to clean and better suited to low-traffic areas.
Can you reverse painted brick if you change your mind?
Removing paint from brick is extremely difficult, expensive, and often damages the brick surface and mortar. Chemical strippers can work but require multiple applications and significant scrubbing. Sandblasting is effective but erodes the brick face and creates enormous mess. Media blasting (using softer materials) is gentler but still risky and costly. Expect to pay $80–$150 per square metre for professional paint removal—far more than the original painting cost. For this reason, treat painting brick interior walls as a permanent decision.
Transforming brick interior walls with paint is one of the most dramatic yet achievable renovation projects. With proper preparation, quality materials, and patience through multiple coats, you’ll create a fresh, modern look that suits your style while preserving the character and texture that makes brick walls special. Whether you’re brightening a dark feature wall or coordinating an entire room’s colour scheme, the investment in time and materials delivers lasting impact for your home’s interior.
Comparing quotes? Once you have 2-3 in hand, drop them into our free Renovation Quote Comparator to see totals side-by-side and catch the common red flags automatically.
Related guides
For more on Australian renovation costs, see: