You’re standing in your living room, staring at tired carpet or cracked tiles, and wondering if there’s a way to get the warmth and beauty of timber flooring without the cost and hassle of a full installation. Floating timber flooring might be exactly what you need—a versatile, DIY-friendly option that delivers the aesthetic appeal of traditional timber with significantly less complexity and expense.
What’s in this guide
- What is floating timber flooring
- Benefits and advantages of floating timber flooring
- Installation process and requirements
- Cost breakdown and budgeting
- Common mistakes to avoid
- FAQ
What is floating timber flooring
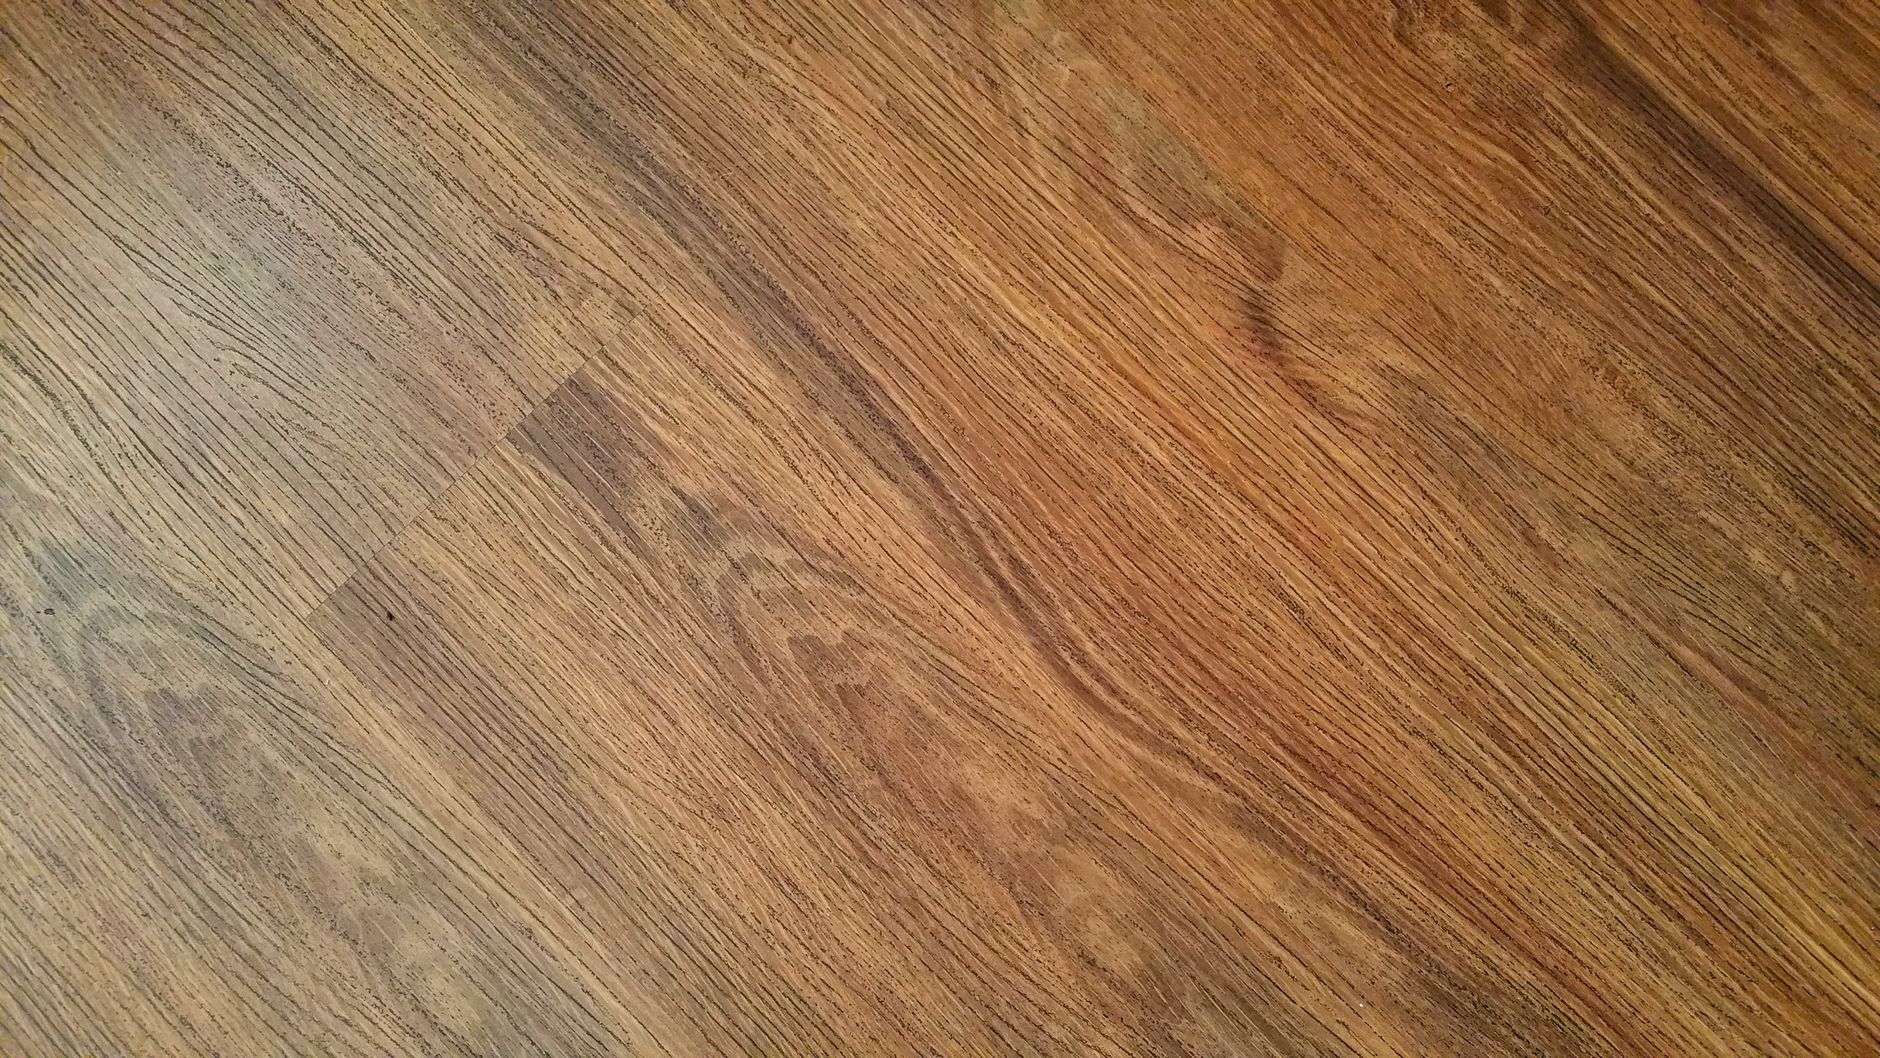
Floating timber flooring is a floor installation method where individual planks or boards lock together without being glued or nailed to the subfloor beneath. Instead, the entire floor “floats” as a single unit over an underlay, held in place by its own weight and the friction of the locking system. This makes floating timber flooring fundamentally different from traditional strip flooring, which is mechanically fixed to joists or concrete.
Most floating timber floors in Australia use engineered timber—a multi-layered product with a real timber veneer on top and a plywood or composite base. However, some high-quality laminate products designed to mimic timber also use floating installation methods. The key advantage is portability and reversibility: you can remove and reinstall a floating floor if you move house or want to renovate further.
The locking mechanisms vary by manufacturer. Common systems include click-lock profiles (where planks angle and snap together) and tongue-and-groove joints reinforced with a small bead of PVA adhesive. According to the Australian Building Codes Board, floating floors must still comply with slip resistance and fire safety standards, particularly in multi-storey dwellings.
Floating timber flooring suits concrete slabs, existing timber floors, and even some vinyl or tile surfaces, provided they’re level and structurally sound. It’s a popular choice for units and apartments where noise transmission is a concern, as quality underlay can significantly reduce impact sound.
Benefits and advantages of floating timber flooring
One of the biggest drawcards of floating timber flooring is the speed of installation. A confident DIYer can lay 20–30 square metres in a weekend, compared to days or weeks for glued or nailed timber. There’s no need for heavy-duty nailers, messy adhesives, or extended drying times, which means less disruption to your household.
Cost savings are substantial. Professional installation of traditional solid timber can run $80–$150 per square metre in labour alone. With floating floors, many homeowners tackle the job themselves, paying only for materials and underlay. Even if you hire a tradie, floating timber flooring installation is typically 30–40% cheaper than glue-down or secret-nail methods.
Floating floors handle minor subfloor movement better than rigid installations. Engineered timber expands and contracts with humidity changes, and the floating method accommodates this natural movement through expansion gaps around the room’s perimeter. This makes it ideal for Australian climates—from the humidity of coastal Queensland to the dry winters of Canberra.
Acoustic performance is another advantage. Quality underlay not only cushions your step but also dampens sound transmission to rooms below. If you’re renovating a first-floor bedroom or laying new flooring in a townhouse, this can make a real difference to amenity and council compliance. Some councils require a minimum impact insulation class (IIC) rating for renovations in multi-residential buildings; check your local Development Application requirements.
If you’re considering timber options across your home, you might also explore herringbone layouts or learn about blackbutt species, both of which are available in engineered floating formats.
Installation process and requirements
Before you lay a single plank of floating timber flooring, the subfloor must be clean, dry, and level. Use a 1.8-metre straight edge to check for high spots and dips; any variation greater than 3 mm over 1 metre should be levelled with self-levelling compound or sanded down. Moisture is the enemy: test concrete slabs with a moisture meter (readings above 5.5% typically require a damp-proof membrane) and ensure timber subfloors are well-ventilated underneath.
Start by rolling out your underlay perpendicular to the direction you’ll lay the boards. Foam, cork, and rubber-crumb underlay products are all common; thicker options (3–5 mm) provide better acoustic isolation. Tape the seams with builder’s tape to prevent shifting during installation.
Plan your layout so that the final row of boards is at least 50 mm wide—narrow slivers look amateurish and are difficult to install. Measure the room width, subtract expansion gaps (typically 10–15 mm on each side), and divide by the plank width. If the final row would be too narrow, rip down the first row to balance it out.
Begin installation along the longest, straightest wall. Use spacers to maintain your expansion gap. Click or tap the tongue of each new plank into the groove of the previous one, working left to right. Stagger end joints by at least 300 mm between rows to create a stable, visually appealing pattern. Many floating timber flooring systems allow you to tap planks together with a block and hammer; just be gentle to avoid damaging the locking profile.
Doorways, architraves, and obstacles require careful scribing and cutting. An oscillating multi-tool or jamb saw lets you undercut door frames so the flooring slides neatly beneath. For pipes and posts, drill holes slightly larger than the obstruction, cut the plank, and glue a small infill piece after installation.
Once the floor is down, remove spacers and install skirting boards or scotia moulding to cover the expansion gap. Never glue, nail, or otherwise fix the floating floor to walls or cabinets—it must remain free to move.
Cost breakdown and budgeting
Material costs for floating timber flooring in Australia range from $40 to $120 per square metre, depending on timber species, veneer thickness, and brand. Budget-friendly options include engineered oak or spotted gum with a 2–3 mm wear layer, while premium products feature 4–6 mm veneers of blackbutt, jarrah, or imported European oak. Always purchase 5–10% extra to account for cuts and future repairs.
Underlay typically costs $5–$15 per square metre. Basic foam is cheapest, but if noise reduction or thermal insulation matters, consider cork or high-density rubber underlay. Some engineered boards come with pre-attached underlay, which simplifies installation but may not offer the same acoustic performance.
If you’re hiring a professional, expect to pay $25–$50 per square metre for labour. Total installed cost (materials plus labour) usually lands between $70 and $150 per square metre for mid-range floating timber flooring. Compare that to $120–$200+ per square metre for solid strip timber, and the savings become clear.
Additional expenses include transition strips for doorways ($15–$40 each), skirting or scotia ($8–$20 per lineal metre), and tools if you don’t already own them. A quality drop saw, tapping block, pull bar, spacers, and tape measure are essential. Budget around $150–$300 for a basic kit if you’re starting from scratch.
For those renovating on a tighter budget, it’s worth checking costs across different categories. Our guide to basic bathroom renovation expenses shows similar trade-offs between DIY and professional work.
Common mistakes to avoid
Skipping subfloor preparation is the most common—and costly—mistake with floating timber flooring. An uneven base causes planks to rock, stresses locking joints, and leads to premature wear and squeaking. Always invest the time to level and clean your subfloor properly.
Ignoring expansion gaps is another trap. Timber expands in humid conditions and contracts when dry. Without adequate perimeter gaps (10–15 mm minimum), your floating floor can buckle or warp, especially in summer. Never wedge the flooring tight against walls, and ensure heavy furniture or kitchen islands aren’t pinning the floor down.
Laying boards parallel to floor joists in a timber-framed home increases the risk of telegraphing (where joist lines become visible). Whenever possible, run floating timber flooring perpendicular to joists, or install additional bracing and sheet substrate to stiffen the subfloor.
Mixing batches without checking colour and grain can result in a patchwork appearance. Timber is a natural product, and even engineered boards vary slightly. Open several cartons and dry-lay a section before you start, shuffling planks to achieve a balanced look.
Underestimating moisture risks is dangerous. Laying floating timber flooring over a damp concrete slab without a moisture barrier invites cupping, mould, and delamination. The Australian Bureau of Statistics tracks climate data that highlights high-humidity zones along the coast—if you’re in one of those areas, moisture testing and barriers aren’t optional.
Forgetting to acclimate the timber is a final misstep. Leave cartons in the room where they’ll be installed for at least 48 hours so the boards adjust to local temperature and humidity. This reduces post-installation movement and gapping.
FAQ
Can I install floating timber flooring over tiles?
Yes, provided the tiles are level, firmly adhered, and free of cracks. Fill any grout lines deeper than 5 mm with levelling compound, and use a quality underlay to cushion minor imperfections. Tiles offer a stable, moisture-resistant base, making them one of the easier substrates for floating floors.
How long does floating timber flooring last?
Engineered floating timber floors with a 4 mm or thicker wear layer can last 20–30 years in residential settings, and they can often be sanded and refinished once or twice. Thinner veneers (2–3 mm) are usually considered non-sandable, giving them a 10–15 year lifespan before replacement. Proper maintenance—regular sweeping and prompt spill cleanup—extends durability significantly.
Is floating timber flooring suitable for kitchens and bathrooms?
Floating timber flooring works in kitchens with some caution. Use mats near sinks, clean spills immediately, and choose engineered products with water-resistant coatings. Bathrooms are riskier due to prolonged humidity and splashing; many manufacturers void warranties for wet-area installations. If you proceed, ensure excellent ventilation and consider a waterproof underlay with sealed edges. Hybrid or vinyl plank may be a safer choice for high-moisture zones.
Do I need building approval to install a floating floor?
In most Australian states, replacing flooring like-for-like within an existing dwelling doesn’t require council approval or a building permit. However, if your renovation involves structural changes, or if you live in a strata-titled apartment with specific by-laws, you may need to lodge a Development Application or notify your body corporate. Always check with your local council and review your strata plan before starting work.
Can floating timber flooring be removed and reused?
One of the standout benefits of floating floors is reusability. Because planks aren’t glued or nailed, you can disassemble them carefully, transport them, and reinstall in a new location. This makes floating timber flooring an excellent choice for renters planning to eventually buy, or homeowners who anticipate moving. Just take care not to damage the locking profiles during removal, and store boards flat to prevent warping.
Bringing it all together
Floating timber flooring offers Australian homeowners an accessible, cost-effective way to enjoy the timeless appeal of real timber without the complexity of traditional installation methods. Whether you’re a confident DIYer or prefer to bring in a professional, the flexibility, acoustic benefits, and potential for future reuse make floating floors a smart renovation choice. Prepare your subfloor thoroughly, respect expansion gaps, and choose quality materials—your new floor will reward you with years of warmth and character underfoot.
Comparing quotes? Once you have 2-3 in hand, drop them into our free Renovation Quote Comparator to see totals side-by-side and catch the common red flags automatically.
Related guides
For more on Australian renovation costs, see: